 |
| Paper Tanks - BTW, the backdrop color is a base coat and is going to be "hazed" over to dull the blue |
Further experiments with paper..... Last time I showed you a free download paper model that I built. This time, it's one that I purchased from the same site, Scale Scenes. Purchasing these models is as simple as paying for them and then getting an email with the how-to on downloading your model. This "kit" was about 4 pounds, which worked out to be around $6 something in US dollars. Since you buy the PDF file the number of models you can build is unlimited and only will cost you ink and paper. This kit comes with all you need to make tanks in a black or a white color. You can also print the white tank image onto a colored paper, they recommend silver for additional variety. The kit also comes with concrete slabs, retaining walls, stairs, platforms, piping,...etc. (10 pages of stuff) I printed out the file. again at 87% reduction, onto a matt presentation paper. A printing professional at my Friday night operators group, Diamond Bill, recommended always using paper that is the same brand as the printer, at least for high-quality prints. The manufactures set their printers up using their paper so while other papers will work, the optimum quality will be with their paper. Following this advice I am getting excellent prints. When I adjust the paper options in the printer utility there is a check box for the exact paper that I'm using.
 |
| Using door jamb to draw a vertical line on a cylinder - don't use a good door for this as it leaves a little pencil residue. |
The nice thing about this kit is that the paper tanks are designed to be applied to a cylinder. Any diameter up to maybe 5 or 6" can be used. For my core I used PVC pipes with an .060 styrene top. As I was building backdrop tanks I split the pipes. To do this I first draw a straight vertical line on one side of the PVC pipe. I use an old model rocket trick and set the pipe against a door jamb's stop molding. You then use a pencil to run a vertical line along the stop molding. To add the second line, 180 degrees from the first, I take a scrap of paper and wrap it from the first line, all around the tank, cutting it when it returns to the first line. I then fold the paper in half and re-tape it to the cylinder. The fold line should be exactly opposite the first line. To cut along the lines through the heavy, Schedule 40 PVC, I used a dovetail hand saw. After I glued on the half tops, I sprayed the tanks and paper wraps with an adhesive. First you wrap the sides of the tanks - cut to extend a little above the top of the cylinder. This overhang is cut with a razor every 1/4" or so and the cuts are folded down onto the top. Next the top piece is cut out from a larger circular print - center the tanks on it and trace and then cut - and then glued on. Results are good for back drop structures and will blend in even better with the addition of ladders, walkways, and piping.
 |
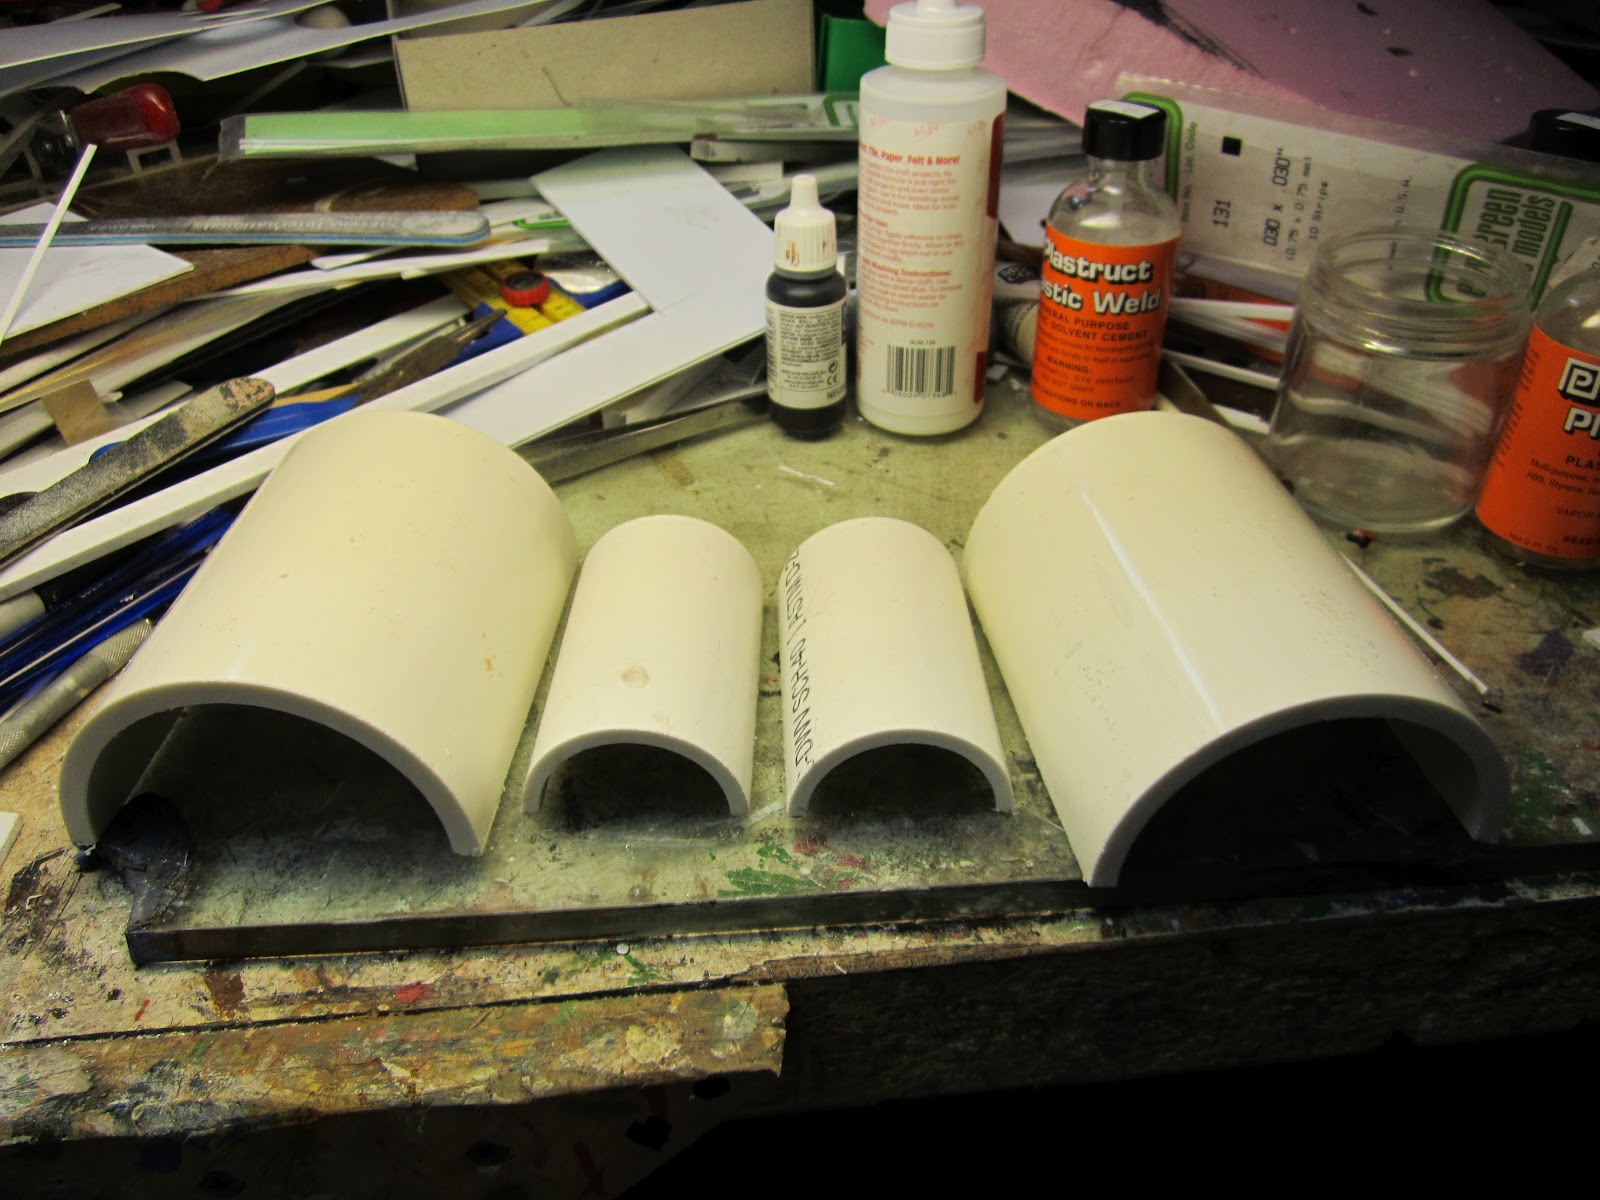
| Split pipes - 1.5" and 3" PVC schedule 40 pipe |


1 comment:
I am glad other people are starting to appreciate paper modeling. There are quite a few buildings on my railroad in the urban area (taller buildings) that are foamcore that is paper-clad with color prints. Some of my buildings came from http://www.cgtextures.com/ which is a free site. Paper takes time but the results are really worth the effort.
I did build one that is taller and somewhat of a Baltimore landmark - did it from a photo.
Nice work!!
Post a Comment